
Character over perfection
It is well known that the USSR produced a vast number of cameras and lenses after World War II. For most of these lenses, however, it cannot be said that they were entirely original designs. Rather, they were adaptations. In the aftermath of the war, the Soviet Union acquired a significant number of German optical designs, production equipment, and in some cases even the engineers who had created them. These designs were then modified as needed to suit large-scale production within the USSR.
The result was a series of clever reinterpretations of lenses originally made by Carl Zeiss, Leica, Voigtländer, Contax, and others—often sold at a fraction of the cost of their Western counterparts. One of the most well-known examples is the Helios 44, a direct descendant of the German Zeiss Biotar.
Were these copies truly great in every aspect while being so inexpensive? Not quite. Although the original optical formulas were largely preserved, differences in manufacturing processes, quality control, lens coatings, and materials led to results that often diverged from the originals. What were once considered shortcomings are now seen in a different light. Many of these “flaws” give the lenses a distinctive rendering—something modern, technically perfect optics often lack: character.
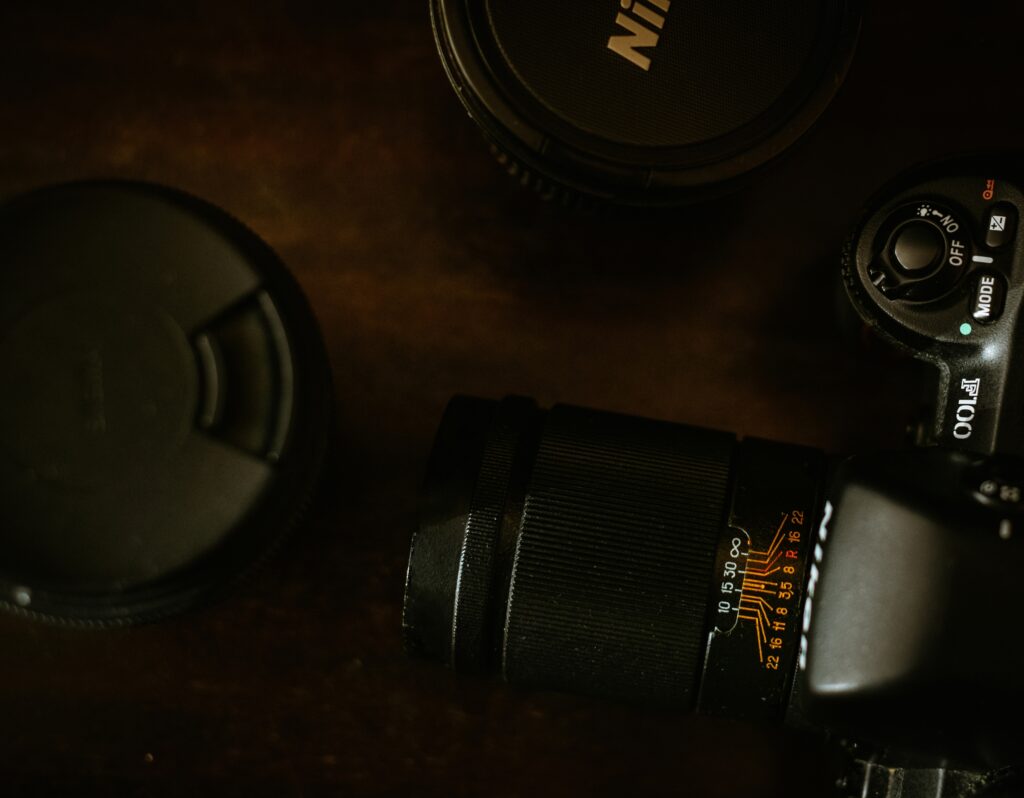
The Jupiter-37A is one such lens.
Design
The Jupiter lens series is largely derived from the Zeiss Sonnar optical design, with lenses produced for both 6×6 medium format and 35mm cameras. The lineup includes several iconic models, such as the Jupiter-3 (50mm f/1.5) and Jupiter-9 (85mm f/2). In this article, however, I’ll focus on the telephoto portrait lens of the series — the Jupiter-37A.
Introduced in 1974, the Jupiter-37A is also based on the Sonnar design. It features a 135mm focal length with a maximum aperture of f/3.5, making it a classic choice for portrait and telephoto work.

The lens was produced in several variations, with the Jupiter-37A in M42 mount being the most common. The “A” designation indicates a changeable mount system. At the time, this allowed photographers to purchase different mounts and adapt the lens to various camera systems using just three screws—a remarkably flexible solution for its era.
You can quickly learn more about your lens model just by looking its markings:
- Jupiter-37A (white lettering) – early versions
- Jupiter-37A (colored lettering) – later versions
- Jupiter-37A MC – multi-coated version (the standard model is single-coated)
The serial number also reveals useful information: the first two digits indicate the year of production. For example, a serial number 876609 means the lens was manufactured in 1987.
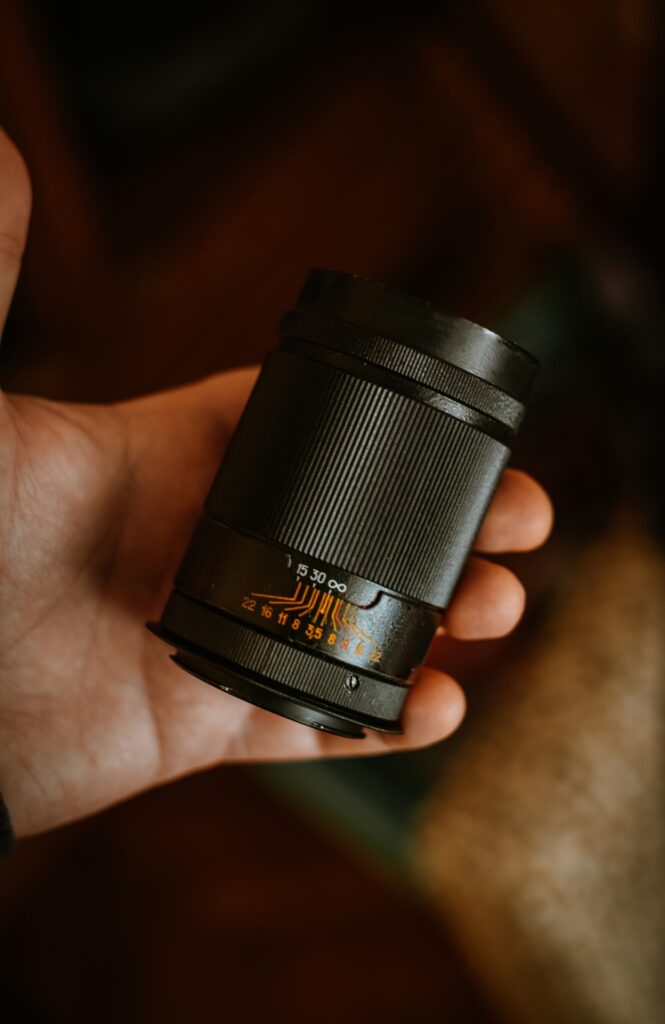
In terms of ergonomics, the Jupiter-37A is surprisingly compact for a 135mm lens and relatively light at around 400 grams. As expected from Soviet-era optics, it is entirely metal, giving it a solid and durable feel.
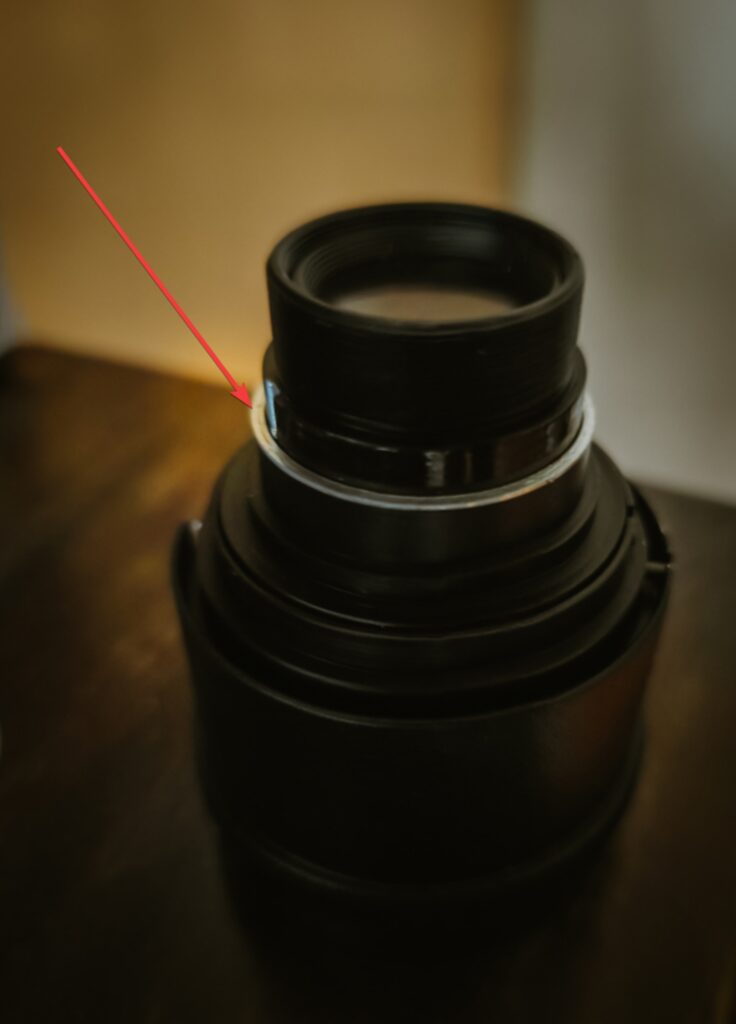
The aperture ring is positioned near the front of the lens, close to the filter thread, which may feel awkward at first. It is click-less, offering a smooth, continuous rotation without defined stops between values. This feature make the lens particularly appealing for video work, which is one reason it remains popular today.
With 12 aperture blades, the Jupiter-37A produces exceptionally smooth and creamy bokeh. The lens uses a 52mm filter thread, giving access to many affordable filter options, and an optional metal lens hood was also available.
What can you expect from it?
Even some of the of the most expensive modern lenses in the world, made by most admired makers such as Nikon and Canon require some stopping down from full aperture to get reasonable sharpness. When I first got in touch with Jupiter I was expecting that it’s usable from f4 at best.
Boy, was I wrong!
It’s laser sharp wide open on f3.5. Absolutely no reason to stop it down because of sharpness. Even the CA is quite OK at that point, so right now I’m usually just keeping it on F3.5.
What makes it truly unique is it’s bokeh. It’s so pleasant, creamy, creating a true 3D look on your photos. Flaring is also quite neutral, only adding the charm to the photos.
Color rendition is also quite unique and you can immediately spot a difference between any modern lens and Jupiter. Colours are earthy, pastel like, probably also due to the coating used on it.
Focus ring is one downer on this lens because it’s quite stiff (even lubricated) and some quick shifts from close range to infinity zone are a true manual work. Mentioning that, it’s worth noting that minimum focusing distance is 1.20m
Modification for usage on Nikon F-system
As many of you know, adapting the M42 lenses for Nikon F mount is one of the worst possible scenarios. Reason behind that is that Nikon has unusually long flange focal distance comparing to the other mounts.
What that means is that if you use a M42-Nikon F adapter, your lens is going to be some 0.94mm away from film then where it should be. In reality it means that you can mount it normally to the camera body but you won’t be able to get focus to infinity, more something like 3-8 meters depending on the lens focal length. One solution for it is to use camera lens adapter that have correcting glass in it. I’m strongly against this option because they degrade the image quality to that point that it simply kills the lens character. I’ve tried a lot of models including the expensive brands and they are all s**t.
That gets us to the option number 2:
Using plane metal adapter ring without glass in it, but modifying the lens.
This is not something that can be easily done on most of the lenses, but in this case it’s pretty simple and it doesn’t affect the optical formula which is very important.
I must advice you that you are doing this on your own risk, but if you follow the instructions you’ll be fine.
As mentioned above, we want to allow the rear element of the lens to protrude 0.8-0.9mm more to the camera body. On Jupiter 37a, we do it very easy.
1. Prepare a clean surface for work. You don’t want to lose any small part during this process.
2. On the back of the lens, there is a ring holding the rear element. Unscrew it.
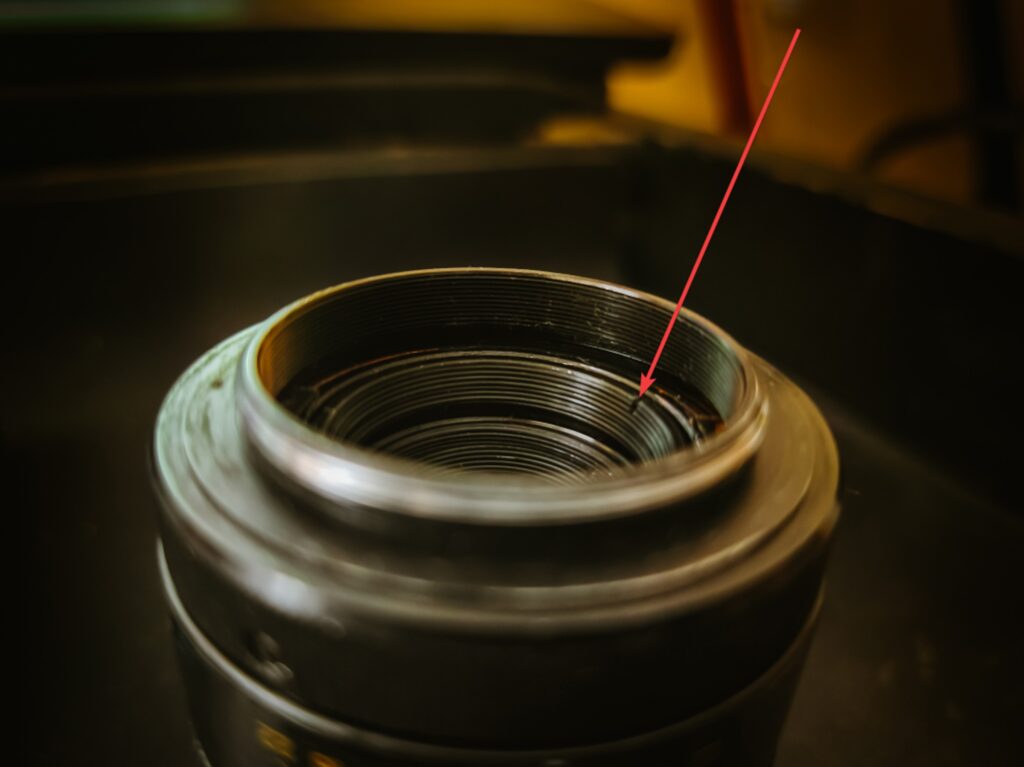
Don’t use screwdriver, there is cheap tool for that on Ebay and you can use it on any lens afterwards for cleaning, repairing etc.
Removing that ring will allow the whole lens to be split into 2 parts, front and rear element.
You can see immediately where this is leading.
During manufacturing they used shims (both brass and aluminum ones) to get to the proper limit. Each example has different amount of those shims due to the manufacturing differences. Use your caliper gauge and measure the thickness of your shims. Most probably we want to remove something like 0.7-0.8mm of shims, but let’s play it safe. Remove less first, and test the lens. On mine I left the aluminum ones but removed the brass shims and it was enough to gain infinite focus.
Start with removal of just a few ones, assemble it and try focusing. If you still cannot get infinite focus, remove just a bit more.
Take your time, you don’t want to hurry in this part. Do not press the shutter until you’re certain that it’s good, because you could break the mirror if it hits the rear of the lens.
Red flag is if you have an infinite focus but there is still some travel on the focus ring and image gets blurrier after it. It means you took too many shims. As I mentioned DO NOT press the shutter until you are sure you’re good.
You want to get to the point of having an infinite focus just at the end of the focus ring travel.
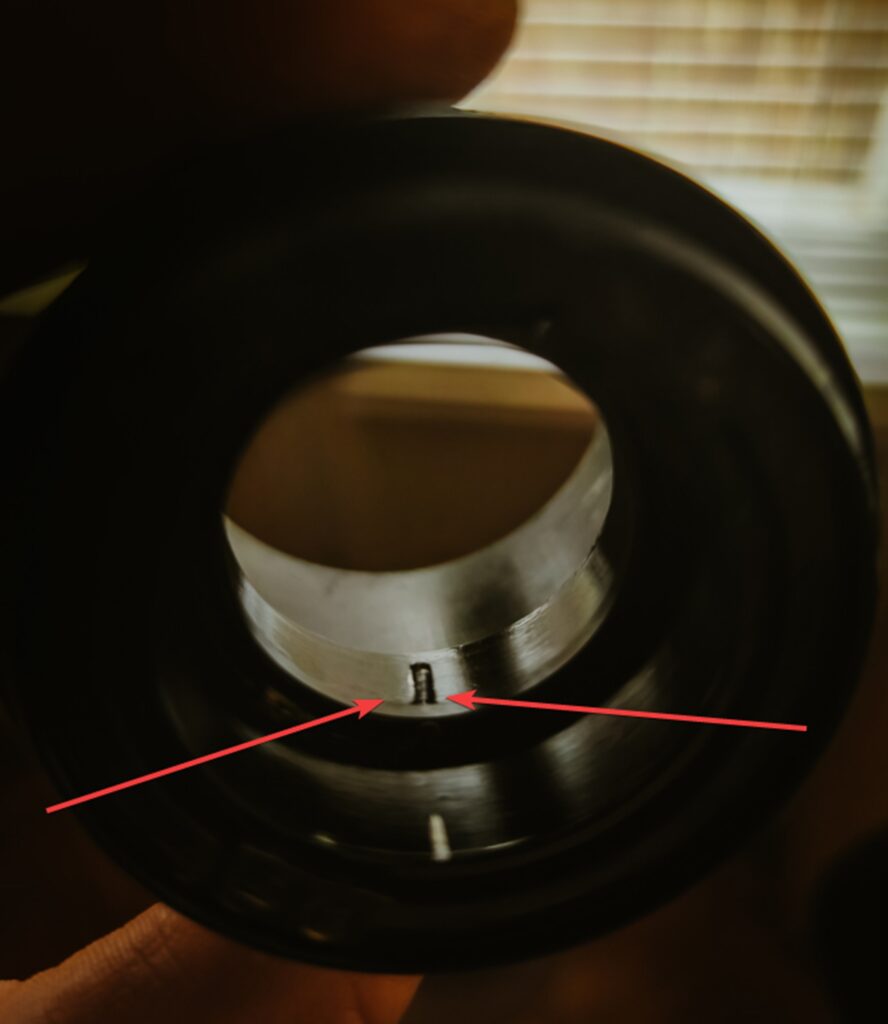
While assembling, be sure that pin is on it’s place like on the image below.
That’s it, basically in just a couple of minutes you can have fully working Jupiter 37a on your Nikon body and having a full focus range.
Summary
Even though I’m a huge fan of old things, including lenses, a large portion of them is nonsense in these days. Optical faults, flat images full of chromatic aberrations, difficult usage…Simply not worth wasting words on them.
But Jupiter 37A is not one of them. It’s a bit rough on the edges, but it’s still a diamond.
In fact it’s my favorite USSR lens after the Helios 44-2 and I’ll be glad if more people would enjoy it!
All in all, who should try this lens?
Sport shooters and action photographers – No.
Portrait shooters? Absolutely.
You will be rewarded with some such an amazing 3d portraits full of character, something that much newer and $$-er lenses will never replicate.
Videographers? It’s made for you. Smooth aperture changing, creamy bokeh!
Feel free to send your experiences and photos made with it!

If you enjoy the content and find it helpful, please consider making a small donation to support the website’s growth and the creation of new articles.
Sample shots that I’ve made shooting wide open (f3.5):


Leave a Reply